
application
Troubleshooting a dim microscope image
How to check shutter, filter cube, objective, correction collar, focus and exposure before calling a dim field a negative result.
- Author
- EVRINTH Editorial Team
- Published
- 8 October 2026
- Updated
- 8 October 2026
- Reading time
- 7 min
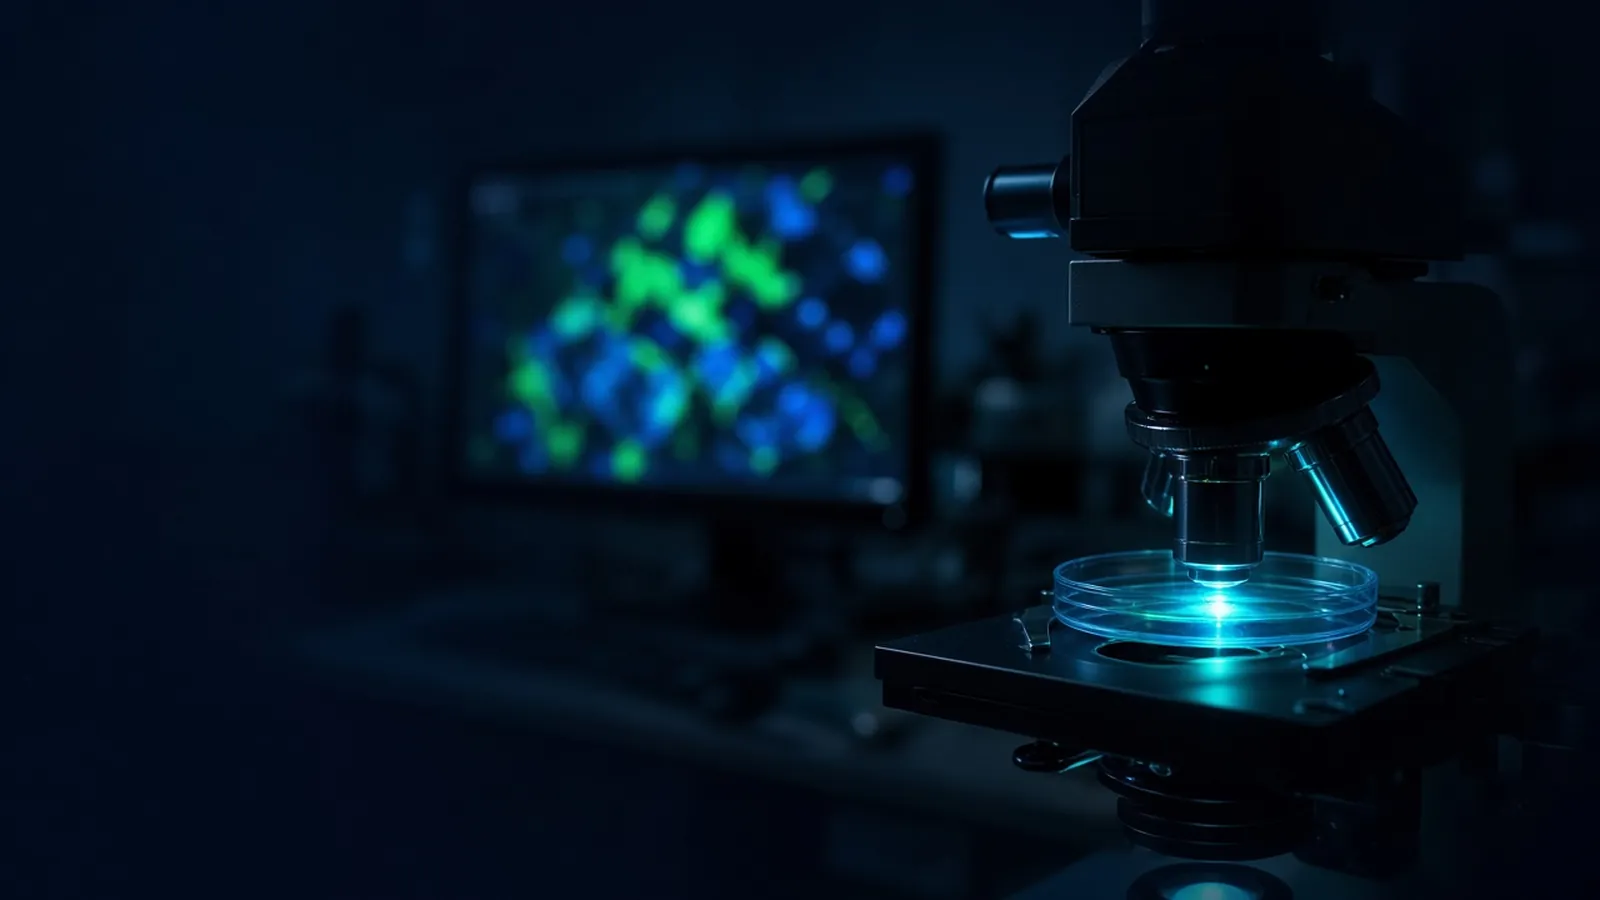
A dim fluorescence field is a research result only after the light path has been shown to work. The use this page walks through is a stained culture that should glow and does not, and the limit of the claim is strict: until a positive control is bright, you have an instrument check, not a biological negative. Population-level fluorescence, without an image, is the cytometer's measurement in how a flow cytometer reads a cell. Why a bright field can still be the wrong molecule is in fluorescence microscopy without the myths.
Microscope classes are in the scientific instruments catalogue. The stain may belong to the molecular biology pathway. Lamp, LED or laser and filter needs belong in a quote request.
The claim you are not ready to make
You wanted to say the culture does not express the labelled protein, or that the antibody failed. A dark camera supports that sentence only if the same microscope, moments earlier or later, showed a known positive brighter than the negative at identical exposure, gain, binning and objective. Without that pair, dimness is a list of optical causes. Work the list. Then earn the sentence.
Light source and shutter
Confirm the source is on and has finished any warm-up. An LED that was dimmed in software, a lamp on its last hours, or a laser waiting on an interlock all present as a dark field. The shutter is the next object. Fluorescence shutters stick, and software shutters disagree with a manual lever. Open both. If transmitted light works and fluorescence does not, the fluorescence path is the suspect, which is already a useful split. The MicroscopyU fluorescence section and the Evident fluorescence primer describe that path in general. Your microscope's diagram shows where its shutter actually sits.
Filter cube and contrast hardware
The cube must match the fluorophore: excitation, dichroic and emission as a set. A cube for a red dye will make a green label look absent. A cube that is not clicked home leaks excitation or blocks emission. On microscopes with motorised turrets, confirm the software position matches the cube you think you selected.
An aperture diaphragm closed for a transmitted-light contrast method will strangle fluorescence if it sits in the epi path or if you forgot to open the epi field aperture. A phase-contrast ring or a DIC prism left in the path cuts light and adds a veil. Pull those out for a fluorescence check. Then put them back, deliberately, if the transmitted image needs them.
Objective, immersion, collar, focus
The objective in the light path must be the one you focused with. A low-power scan objective left in place while the software thinks you are at high aperture collects less light and looks dim. Immersion must match the barrel. An oil objective used dry is a classic dim, hazy field. So is a bubble in the oil, and so is a water objective with oil residue.
The correction collar, if present, should sit near the coverslip thickness. About 0.17 mm is the design point for many high-aperture objectives used with No. 1.5 glass. A plastic dish needs the collar position or the objective that the vessel requires. Focus on the specimen, not on a scratch on the wrong side of the coverslip. Transmitted light is the honest way to find the plane before you spend the fluorophore.
Only then touch exposure and gain. Increase exposure modestly. If the positive control becomes bright and the experiment stays dim, you may now talk about the stain. If both stay dim, return to the path. Gain is the last turn, because it brightens noise and convinces you the path worked when it did not.
| Light-path part | Failure that looks dim | What you do next |
|---|---|---|
| Source and shutter | Off, warming, or closed | Confirm status lamps and open the shutter |
| Filter cube | Wrong dye or not seated | Match excitation and emission to the label |
| Diaphragm or prism | Stopped down or left in the path | Open the epi apertures; remove phase or DIC for the test |
| Objective | Wrong lens, dry oil lens, bubble | Read the barrel and remake the immersion contact |
| Correction collar | Set for a different thickness | Move toward the coverslip you have and judge sharpness |
| Focus | Wrong surface of the glass | Find the cells in transmitted light |
| Exposure and gain | Too short, or gain hiding a dark path | Lengthen exposure only after a positive control |
After the path works
Compare the experimental slide with an unstained slide at the same settings. If both are dim, the stain may be absent or bleached, or the antibody may not recognise the fixed epitope. If the unstained is dim and the positive control is bright and the experiment matches the unstained, a negative claim is now allowed inside the limits of that antibody. If the experiment is uniformly hazy, think autofocus on the wrong plane, a thick specimen that wants a confocal section, or a collar still slightly off.
Do not compare tonight's dim image with last year's bright one if the lamp, the LED power or the exposure changed. Intensity claims need stored settings. A cytometer tube of the same cells can confirm that the fluorophore is present as a population. It uses a different path, explained in the companion article, and it will not seat your cube for you.
Safety and research limits
Hunting a dim image with the eyepiece and a bright lamp is an eye-safety issue. Use the camera and the shields. The specimen may be unfixed human or infectious material. Whether it may be on this stage is an institutional decision, with the WHO Laboratory biosafety manual and the CDC BMBL as references. This page does not approve it. A field that stays dim after the checks is still not a diagnosis.
Shared microscopes in humid rooms collect films on objectives that look exactly like this fault. Clean by the maker's method, and do not leave oil on a lens overnight. After a power cut, sources that reboot at a different power give a dimmer image that is not a weaker stain. Record the restart.
What to send with an enquiry
Describe the fluorophore, the vessel, whether a known positive was also dim, and which of the path checks you have already done. If you are specifying a microscope, ask how shutter state, cube identity and exposure are recorded. Use the scientific instruments catalogue and the quote request. Ask whether a quotation is possible. "It looks dark" without the path checks is not yet a specification.
Questions from the bench
Is a dim field a negative biological result?
Only after a known positive slide is bright on the same light path, at the same exposure and gain, with the same objective. Until that check passes, dimness can be a closed shutter, the wrong cube, a dry oil objective, a correction collar at the wrong end, or a focus on the wrong glass surface. Write the biological negative only when the path has been shown to work. Record the path checks beside the exposure so a later reader does not promote a dim field into a negative result.
Which light-path mistakes look like a weak stain?
A filter cube for a different fluorophore, a cube not fully seated, an aperture diaphragm stopped down, and a phase ring left in the fluorescence path all cut the light. So does an objective that is not the one you selected on the software, on microscopes where the nosepiece and the software can disagree. Each of these leaves a faint, sad image that tempts you to raise gain. Raise the path first.
How does the correction collar enter this check?
A collar set for the wrong coverslip thickness spreads the light into a haze that looks dim and unsharp at the same time. Set it near 0.17 millimetres for a standard No. 1.5 coverslip, or to the thickness of the vessel you actually have, then fine-tune on a small object. A collar at the stop from the previous user is a shared-microscope classic.
Should I compare the dim image with a cytometer tube of the same stain?
A cytometer can tell you the cells carry the fluorophore as a population measurement, which is useful when you suspect the microscope rather than the antibody. It cannot tell you the filter cube is seated. Use it as an orthogonal check of the stain, described in the companion article on how a cytometer reads a cell, and keep doing the light-path checks on the microscope itself.
References
Manufacturer names identify published method classes. Trademarks remain with their owners. Catalogue records on this site are independent references for enquiry. They are not a statement of inventory, distribution rights or a supply commitment. This page is educational. It is not medical advice, a diagnostic protocol or a biosafety approval.
Catalogue
Related products and categories
These links follow the subject of the article into published manufacturer references. A listing is a reference for an enquiry, not a statement of stock or distribution rights.
Continue in this cluster
Related reading
 How a flow cytometer reads a cellHow a cytometer focuses cells into a laser, turns scatter and fluorescence into pulses, and why a gate is an argument rather than a fact.A glossary of optical measurementsWhich optical measurements a microscope or cytometer specification should name so a later user can repeat the light path.Biosafety of unfixed human samplesWhy unfixed human blood, tissue and cells on a cytometer or microscope stay an institutional biosafety decision, not a technique choice.